Written by: Dr. Michael | Last Updated: July 10, 2026
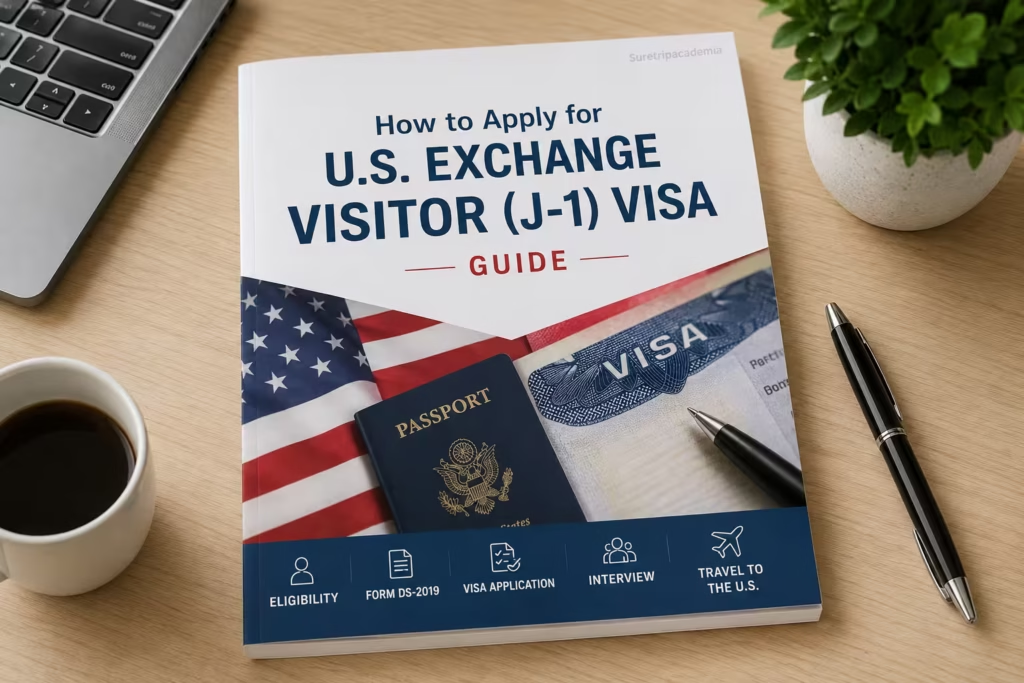
Unlock Your American Adventure
Dreaming of working in a U.S. lab, interning at a cool company, teaching in a classroom, or joining a camp as a counselor or au pair? The United States has amazing ways to grow your skills and see the world. But you can’t do this with a tourist visa—you’ll need the J-1 Exchange Visitor Visa.
Who This Guide Helps
This guide is for international students, researchers, teachers, and trainees who want to join an approved cultural exchange program in the U.S. Government websites can feel confusing, so here you’ll find the process explained in simple, everyday English.
With this, you’ll know exactly how to start your visa journey with confidence.
What is the J-1 Exchange Visitor Visa?
The J-1 visa is a special U.S. visa for people joining approved cultural exchange programs. It’s not for tourists but it’s for those who want to teach, study, train, research, or share skills in America through an official sponsor.
Why It Exists
This visa lets you:
- Teach in U.S. classrooms
- Study at American universities
- Train or intern at companies
- Do research in labs
- Share talents in arts or sports
How Long You Can Stay
Your stay depends on your program:
- Interns: up to 12 months
- Trainees: up to 18 months
- Research scholars: up to 5 years
You also get a 30-day grace period before and after your program to settle in or travel
Processing Time
Getting a J-1 visa takes planning:
- Sponsor paperwork: 3–8 weeks
- Embassy appointment: a few weeks more
- Interview + passport process: 10–15 business days
Best tip: Start your application 3–4 months before your program begins.
J-1 Visa Eligibility (Who can Apply)
To get a J-1 visa, you need to meet these rules:
- Nationality & Sponsor: Open to people worldwide, but you must join an exchange program run by an official U.S. sponsor.
- Money Proof: Show you have enough funds to live in the U.S. (bank statements, scholarship, or sponsor support).
- English Skills: Provide test scores or proof you can speak and understand English.
- Home Ties: Show strong family, social, or job ties back home to prove you’ll return after your program.
- Two-Year Rule: Some J-1 holders must go back to their home country for 2 years before applying for certain U.S. visas.
Documents You Need
- Valid passport
- Passport photos
- DS-160 confirmation page (online form with barcode)
- DS-2019 form (issued by your sponsor, signed by you)
- Travel plan or housing letter (don’t buy tickets yet)
- Financial proof (bank statements, stipend, or scholarship)
- Fee receipts (visa fee + SEVIS fee)
- Health insurance
Step-by-Step Application Process
- Get DS-2019: Your sponsor registers you in SEVIS and mails the form.
- Pay SEVIS Fee: Pay online and print the receipt.
- Fill DS-160: Complete the visa form online and print the barcode page.
- Pay Visa Fee & Book Appointments: Pay and book biometrics and interview dates.
- Attend Appointments: Do biometrics first, then interview at the embassy. Bring all documents neatly organized.
- Track Application: If approved, your passport will be returned with the visa. You’ll get updates by email or text.
Common Reasons for J-1 Visa Denial
Many applicants get denied for small mistakes. Watch out for these:
- Health insurance gaps
- Unclear money proof
- Wrong details
- Weak home ties
Tips for a Smooth Application
- Use a folder to keep documents neat and ready.
- Answer questions simply and honestly, no long speeches.
- Be ready to explain what your sponsor does and your role.
- Check embassy rules
Official Government Resources
Visit the official U.S. Department of State CEAC government site to fill out and submit your online DS-160 form.
Visit DHS Study in the States webpage for international visitors.
To pay your visa application fee and book your biometrics and interview appointments, Visit USTravelDocs Portal
You can also see our complete New Zealand Government Scholarships Guide and MEXT Scholarship to find more funding opportunities.
Disclaimer
This guide is for educational purposes only. Visa requirements change frequently. Always verify details with the official United States Embassy or Consulate before applying.